Instagram: Makeamark_artroom

Showing posts with label line. Show all posts

Monday, January 2, 2017

Kandinsky Inspired Abstract Painting


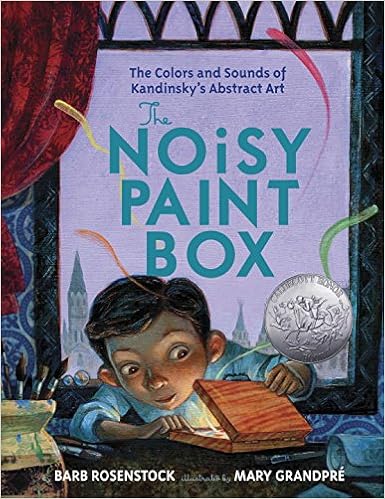
First grade artists were introduced to the artist Wassily Kandinsky. I shared the book, "The Noisy Paintbox" written by Barb Rosenstock.
I appreciate the rich language and artwork in this book, though some of the vocabulary is beyond the 1st grade lexicon, it can be adapted for the younger set. For example, when the word cobalt is used, I say, "Cobalt Blue". Just so my kids, have some bearing on what is being communicated.
https://images-na.ssl-images-amazon.com/images/I/61qKw4VkdAL._SX383_BO1,204,203,200_.jpg

We discussed the lines, shapes and colors of his paintings and how they were named using musical words.

Students offered their interpretations of his paintings and then set to work creating paintings using red, yellow, and turquoise crayola tempera paint. I encouraged them to work with yellow first, then red, then turquoise, mixing colors directly on their paper. They rediscovered/remembered that these colors create orange, purple, and green...the secondary colors. Last,  they used black to create final details. I did give some guidance in asking them to paint 2 shapes with yellow paint, 2 lines with red, and 2 more shapes with blue. They could make any shapes or lines they wished.


Of course, I made sure to play some Tchaikovsky while they painted! 


The goal was to review primary and secondary color mixing and use lines, shapes and colors to create an abstract painting inspired by Wassily Kandinksy. Here are their results!


What I discovered is my students began to mix complementary colors to create neutral tones and were saying, "I made brown! I made a golden color!" They were so excited about the range of hues they were able to make by just mixing the primary colors. Each painting was unique. 

Thanks for reading!


Sunday, November 20, 2016

Kindergarten Paper Form Sculptures


This was a 2 day art experience for my young artists and produced really fun results. I learned that this class was learning about 3-D forms in their classroom, so I thought it natural for them to produce them in a 3-D paper sculptures. I know this class has accelerated art skills, I knew they could handle the technical motor skills required.


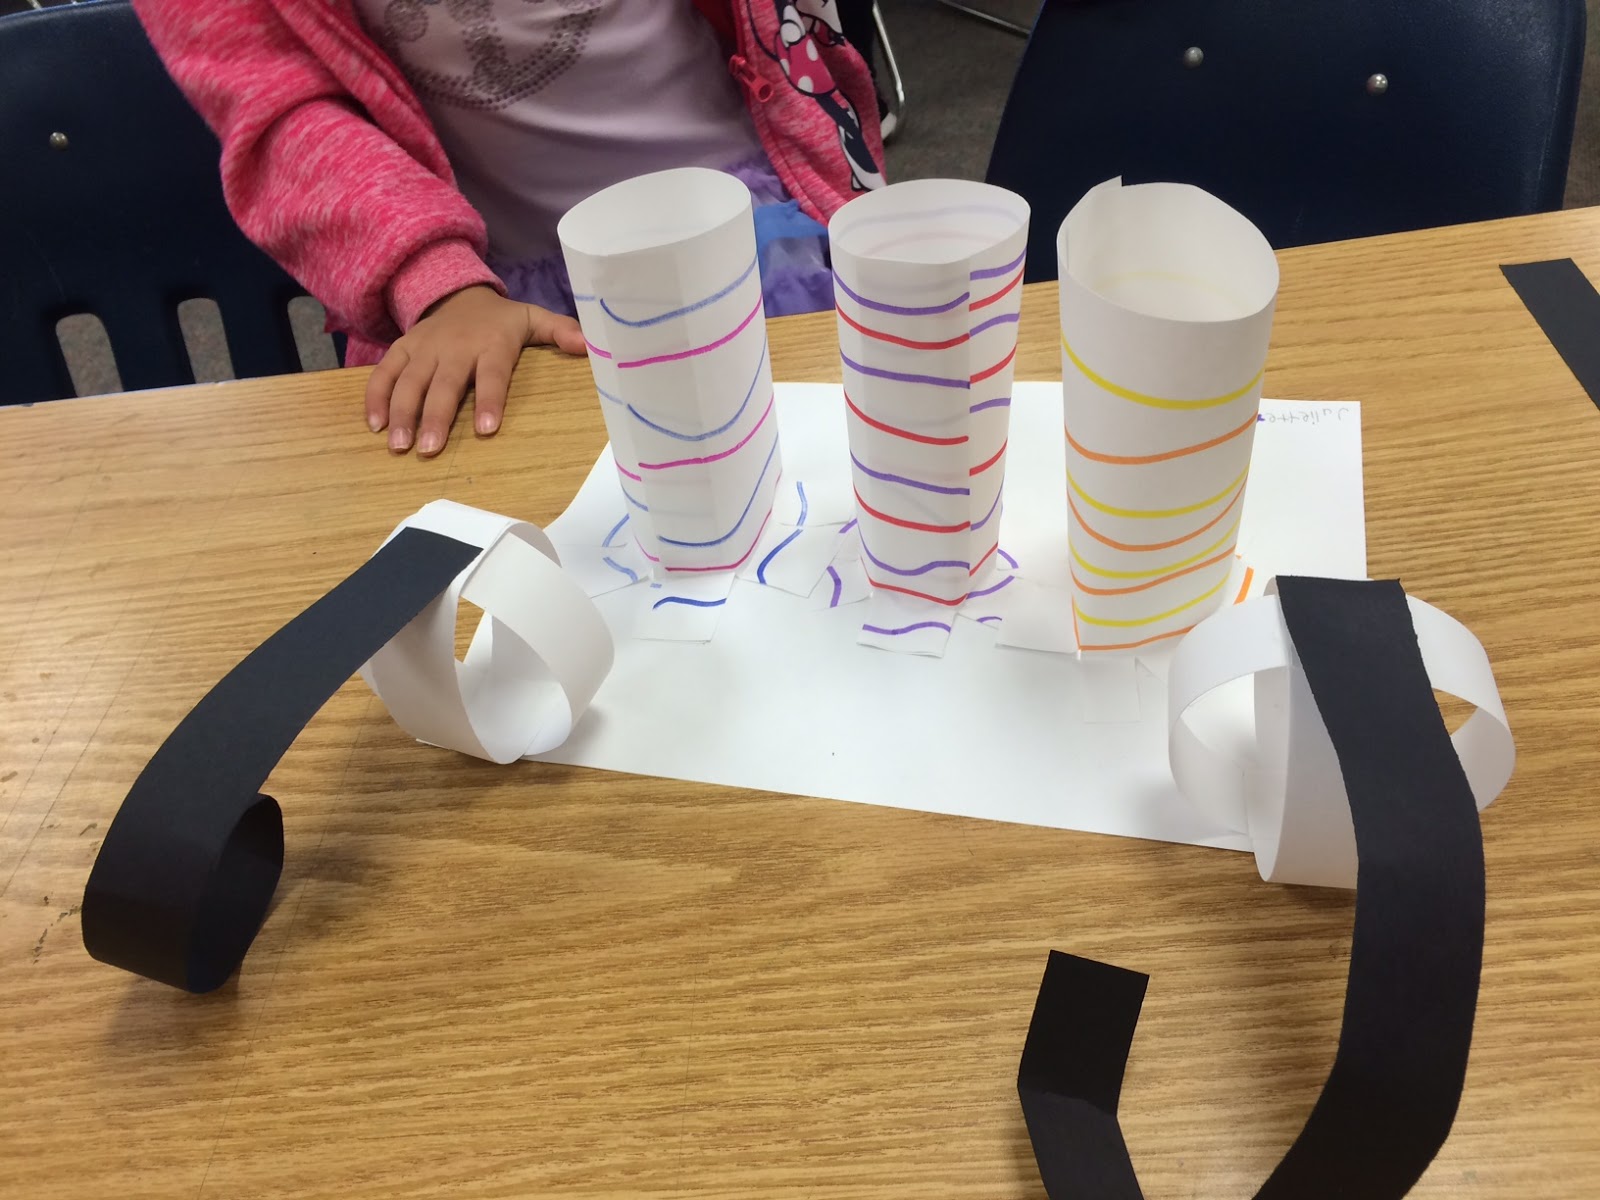
We began on the first day reviewing lines and create line patterns on a rectangular paper. I then demonstrated how to bend the paper into a cylinder shape and glue it in place. I then shared how to make cuts on one end of the cylinder to create flaps. I used a flower petal analogy so they understand that these flaps should be the same size, like flower petals. Then then glued these to a base paper. They could make as many as they could in the remaining time we had in class.


The second day I demonstrated how to attach strips of paper into an X and then bend each one to join them together with glue. This would produce a sphere form. They could make as many as them wanted. I also gave them black strips of paper to use for creating attachments. They've already practiced bending, folding and attaching paper in this lesson, Lines That Wiggle.


They had a blast building these sculptures. It was really sweet to watch them help each other and share their engineering ideas. I wish I could have snapped more photos but I was having so much fun talking with them about their creations.

Thanks for stopping by!

Sunday, October 9, 2016

Painted Paper Pumpkins created by 1st Grade


I really love the look of painted paper and my students seem to REALLY enjoy creating them. I was inspired to teach this lesson by looking at the work of Laura Lohmann over at The Painted Paper. She is the master in my opinion and the work her students create in the Fall is absolutely stunning. You can check it out here.

We spent a lot of time exploring and using a variety of painting tools in creating textures in paint. It was a blast!Then we set to creating warm & cool color painted papers.


The next class we looked at geometric vs. organic shapes. With their cool papers, they were to create 2 geometric rectangles. With their warm papers, they were challenged to draw organic pumpkin shapes and cut them out for collage. They demonstrated their understanding of drawing, cutting, overlapping, and collage techniques in assembling their Pumpkin landscapes.


The last class, they were given oil pastels to add details like highlights, shadows, vines, stars, a moon, and more. Most students were compelled to transform their pumpkins in to Jack-o-lanterns since Halloween is closing in and it is a huge part of their visual culture.


I love to see their imaginations come alive in the last part of adding artistic details.

Thanks for stopping by!


Saturday, September 24, 2016

Kinder Line Sculptures inspired by Candace Whitman's "Lines that Wiggle"


When I meet my kinder students each year I love to introduce them to the art room by exploring the element of Line. It is an element they use as they learn to write letters and numbers. I also want to assess their motor skills. This paper sculpture lesson challenges them to create different types of lines by bending and folding paper while arranging them on a paper base.


I begin the lesson by reading the book "Lines that Wiggle", by Candace Whitman. This book as fantastic illustrations and wonderful rhymes about a variety of lines. Next, I ask the students to look around the room for examples of different lines. This allows me to assess whether they can identify and name lines.

When they've identified straight, curved, angle, and spiral lines I demonstrate how to change a flat paper strip into different types of lines. I show them how to apply glue and attach these strips to a base to create a sculpture. We talk about what a sculpture is and how it is different than a drawing.  They are given lots of strips and paper base and off they go.


Each students' sculpture is unique. I really love when they tell me what each strip represents. For example, a student will point to a looped strip and tell me that it is a car and a curved strip is a bridge. Their powerful imaginations make this project really fun for both them and me.

Thanks for reading!